Updated on 2026-05-21 / iPhone Tips
Restoring your iPhone should be simple, but sometimes things go wrong. If you've seen iPhone restore error 1109, you know how frustrating it can be when the process suddenly stops. This error can happen for several reasons like a faulty cable, network issues, or software glitches and it often leaves users stuck and confused.
Don't worry!In this complete guide, we'll explain what causes iPhone restore error 1109. We'll also walk you through easy, proven fixes to get your iPhone back to normal quickly and safely.
Part 1: What Does iPhone Restore Error 1109 Mean?
iPhone restore error 1109 occurs when the restore process fails unexpectedly. Apple doesn't officially list this error, so it often shows as an "unknown error," leaving users confused.
It can be caused by software glitches, USB connection problems, network issues, or corrupted backups. Understanding this error is the first step toward fixing it and safely restoring your iPhone without losing data.
Part 2: Why Does iPhone Restore Error 1109 Happen?
-
Faulty or Incompatible USB Cable or Port
A damaged or low-quality USB cable can interrupt the connection between your iPhone and computer, causing the restore process to fail. Using a USB-C to USB-A adapter or trying a different port often fixes this issue.
-
Outdated iTunes or macOS
Running an older version of iTunes or macOS can lead to compatibility issues. Updating your software ensures a smoother connection during the restore process.
-
Restoring After a Reset (iPhone restore error 1109 reset)
If you recently performed a factory reset, the restore may fail due to conflicts in system files or incomplete resets.
-
Restoring Without a Passcode
Attempting to restore a locked iPhone without entering the passcode can trigger this error. Always unlock your device before restoring.
-
Network Restrictions or Unstable Internet
A poor internet connection or network restrictions can prevent Apple servers from verifying the restore. Switching to a stable Wi-Fi or using a mobile hotspot may help.
-
Corrupted or Incomplete Backups
If your backup is damaged or partially downloaded, iTunes may fail to restore your iPhone, causing error 1109. Using a fresh backup can solve this.
- Software Glitches in iOS
Temporary iOS bugs or glitches can interfere with the restore process. Restarting the device or using professional repair tools like Tenorshare ReiBoot often fixes these issues safely.
Part 3: How to Fix iPhone Restore Error 1109
Method 1: Fix iPhone Restore Error 1109 with DFU, DNS Change & Restore \Proven by Real Users
One of the most effective ways to fix iPhone restore error 1109 06B4 0000 is by using DFU mode combined with a DNS change and restore. This method works even when traditional restores fail in iTunes.
Many users on forums and Reddit have successfully used this approach to bypass the error and complete the restore safely. Follow these detailed steps to fix your iPhone.
Steps:
-
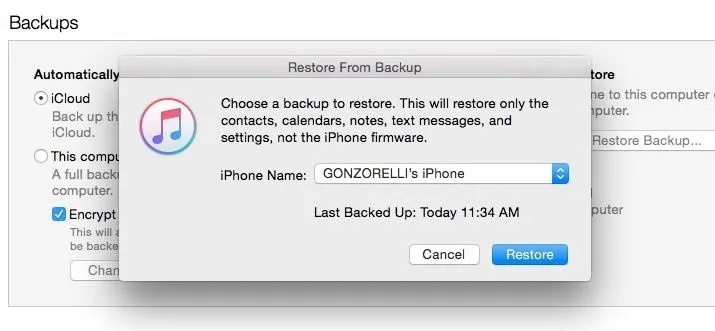
Backup Your Data
Make sure you have a recent backup of your iPhone. Use iCloud or iTunes to save photos, contacts, and important files.
- Put iPhone into DFU Mode
-
Change DNS Settings on Your Computer
Windows: Open Control Panel, go to Network & Internet, then Change Adapter Settings. Right-click the active network, select Properties, then Internet Protocol Version 4. Choose "Use the following DNS server addresses" and enter 8.8.8.8 and 8.8.4.4.

Mac: Open System Preferences, go to Network, click Advanced, then DNS, and add 8.8.8.8 and 8.8.4.4.
Changing DNS helps bypass server issues that can cause iPhone restore error 1109 06B4 0000.
-
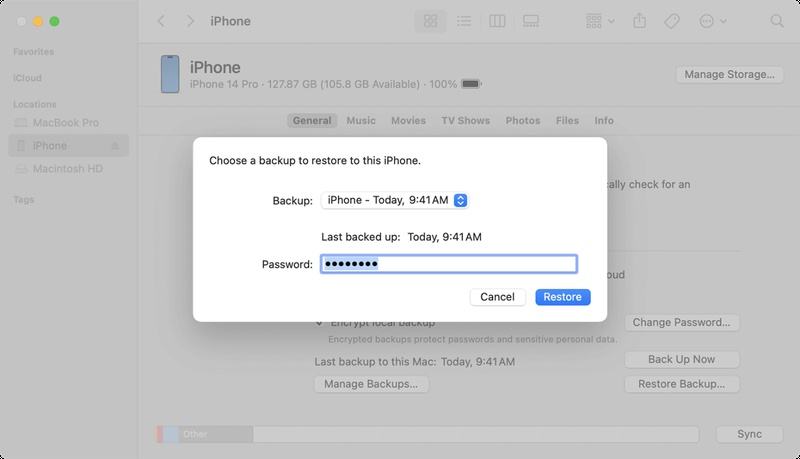
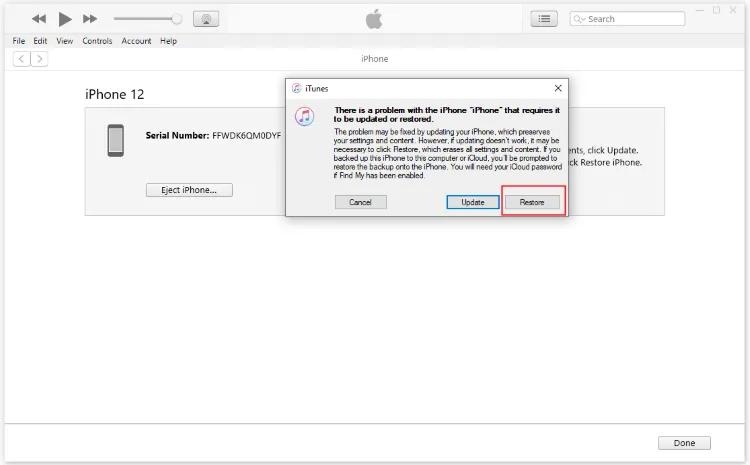
Start Restore in iTunes or Finder
Open iTunes (Windows or older macOS) or Finder (macOS Catalina or later). Select your iPhone, click Restore iPhone, and hold Shift (Windows) or Option (Mac) to choose the correct IPSW firmware file.
-
Wait for the Restore to Complete
The restore may take several minutes. Do not disconnect your iPhone during the process. Once complete, your iPhone will restart and should work normally.
-
Verify the Fix
Connect your iPhone to your computer using a reliable USB cable.
For iPhone 8 or later: Press Volume Up, then Volume Down quickly. Press and hold the Side button until the screen turns black. Hold Side and Volume Down together for 5 seconds. Release the Side button but keep holding Volume Down for 5--10 seconds.
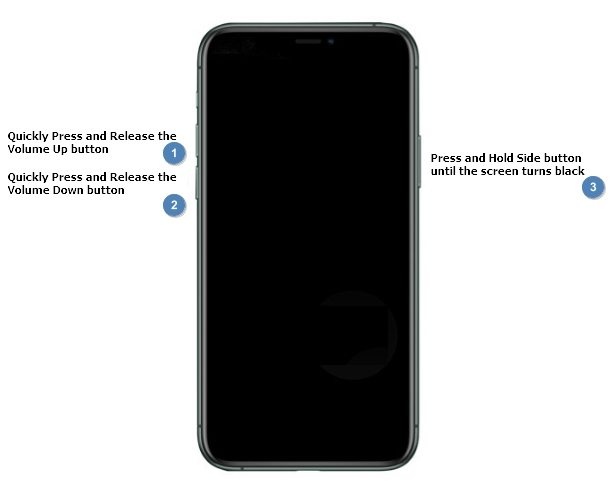
The screen should remain black, showing that DFU mode is active.
Check if your iPhone is functioning properly. If iPhone restore error 1109 06B4 0000 persists, repeat the steps or try another method, such as using professional repair software.
Method 2: Fix iPhone Restore Error 1109 Without iTunes \Recommended
Sometimes restoring your iPhone can be tricky, and traditional methods like DFU mode or DNS changes may not work. This is where professional iOS repair tools come in. Tenorshare ReiBoot is designed to solve system issues quickly and safely.
It can fix stuck updates, restore errors, and even iOS downgrade problems. With ReiBoot, you can repair your iPhone without iTunes. It works on all models, including iPhone 16, 15, 14, 13, and older devices. Using it eliminates the risk of data loss.
Why Use Tenorshare ReiBoot?
-
One-Click Repair: Fix common iOS issues, including stuck restore or update errors.
-
Downgrade iOS Easily: Revert your iPhone to a previous iOS version safely without losing data.
-
Supports All iPhone Models: Works with iPhone 16, 15, 14, 13, 12, 11, X, and iPads.
-
Data-Safe Mode: Repairs system errors without erasing personal data.
-
User-Friendly Interface: Simple, intuitive steps anyone can follow.
-
High Success Rate: Proven to resolve complex iOS issues that iTunes cannot fix.
Steps to Fix iPhone Restore Error 1109 Using Tenorshare ReiBoot
-
Step 1: Download and Install ReiBoot
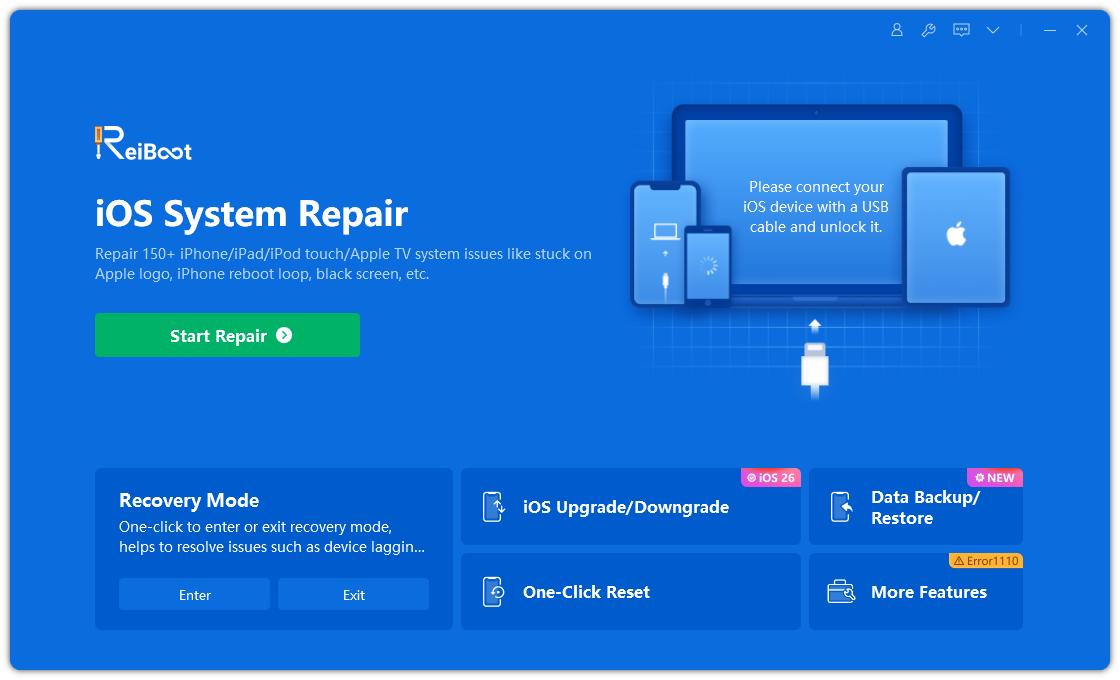
Download Tenorshare ReiBoot from the official website. Install the program on your Windows or Mac computer. Launch ReiBoot, and you will see the main interface with a Start Repair button.
-
Step 2: Connect Your iPhone
Use a reliable USB cable to connect your iPhone to the computer. Make sure the cable is in good condition to prevent interruptions. ReiBoot will automatically detect your iPhone model and system version.
-
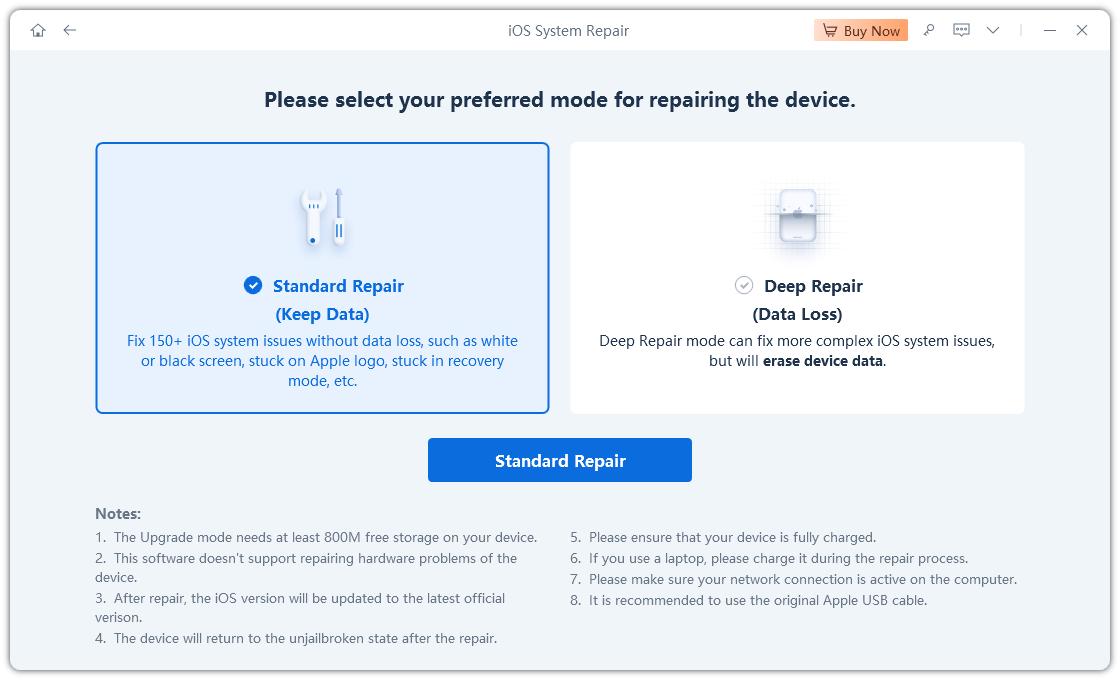
Step 3: Choose Standard Repair
Click Start Repair, then select Standard Repair. This option fixes common iOS system errors without erasing any data. Follow the on-screen instructions carefully to continue.
-
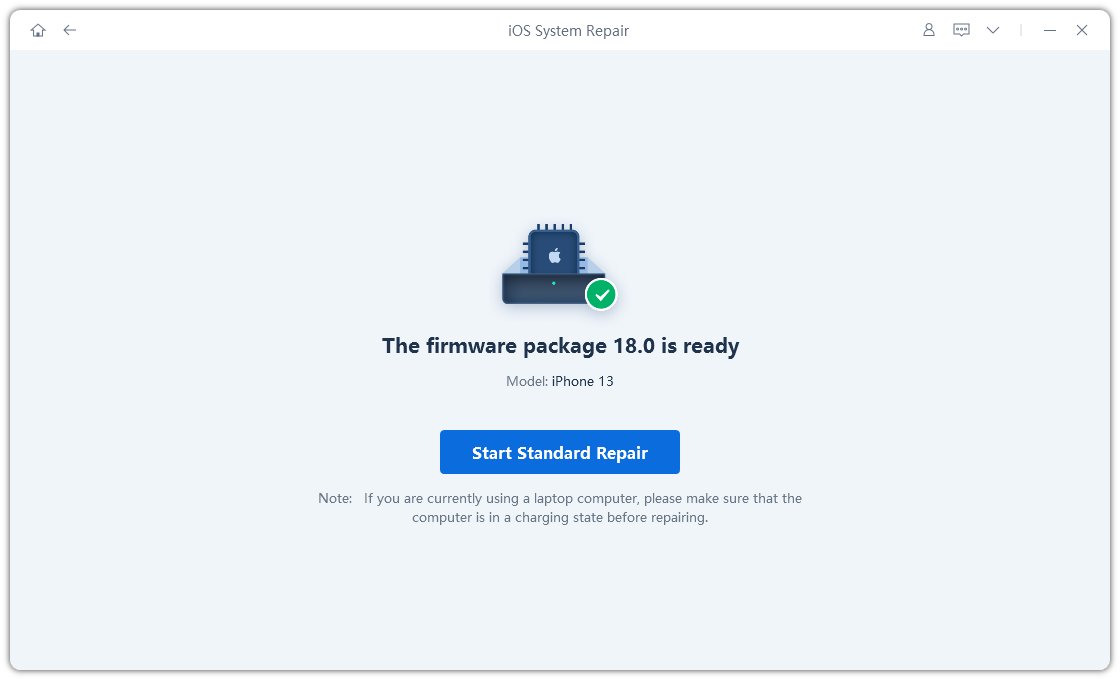
Step 4: Download iOS Firmware
ReiBoot will prompt you to download the latest firmware package compatible with your iPhone. Click Download and wait for the process to complete.
-
Step 5: Start Standard Repair
Once the firmware is ready, click Start Standard Repair to begin repairing your iPhone. ReiBoot will fix the system issues causing iPhone restore error 1109 without passcode. Do not disconnect your iPhone during this process.
-
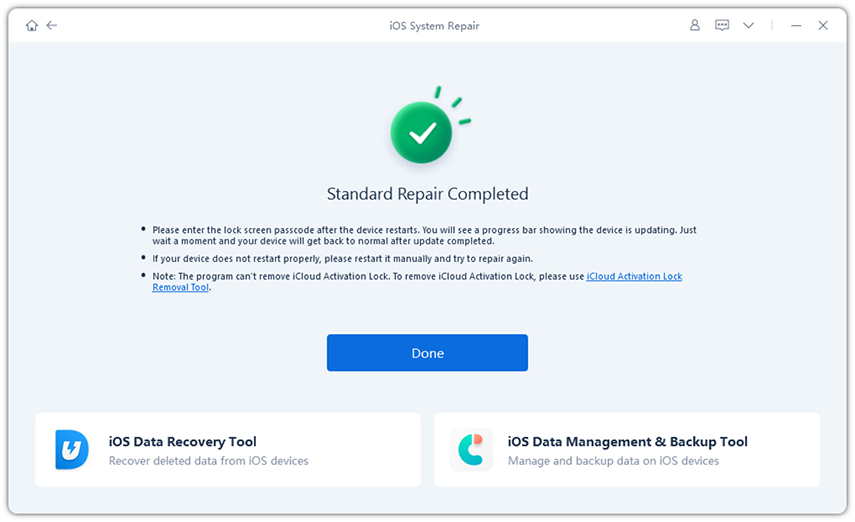
Step 6: Automatic Reboot
After the repair is complete, your iPhone will reboot automatically. Check your device to confirm that the iPhone restore error 1109 is resolved.
Method 3: Fix iPhone Restore Error 1109 by Updating iTunes
Outdated iTunes is one of the most common causes of iPhone restore issues. When your software cannot properly communicate with your iPhone, errors like iPhone restore error 1109 130a 0000 can appear.
Updating iTunes often resolves these problems and prevents other issues, such as iPhone could not be updated error 75. Keeping your iTunes version current makes sure smoother restores and more reliable connections.
Steps:
-
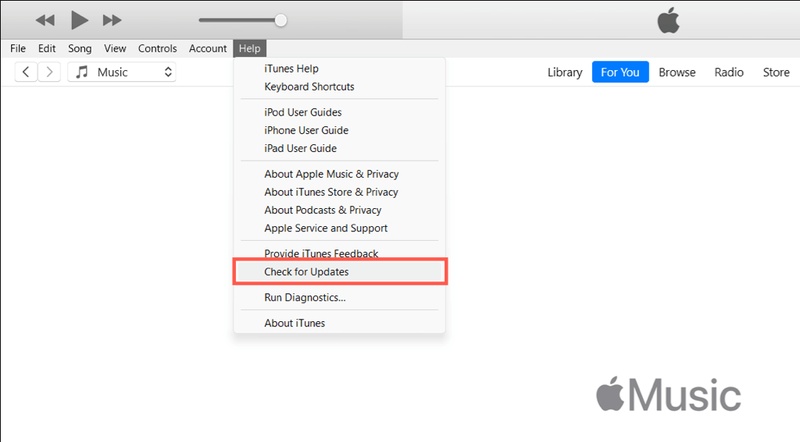
Check Your iTunes Version
Open iTunes on your Windows PC or Mac. On Windows, go to Help → Check for Updates. On Mac, go to iTunes → Check for Updates.
-
Update iTunes
If an update is available, download and install it. Restart your computer after installation.
-
Reconnect Your iPhone
Use a good-quality USB cable to connect your iPhone to the computer. Make sure the connection is stable to avoid interruptions.
-
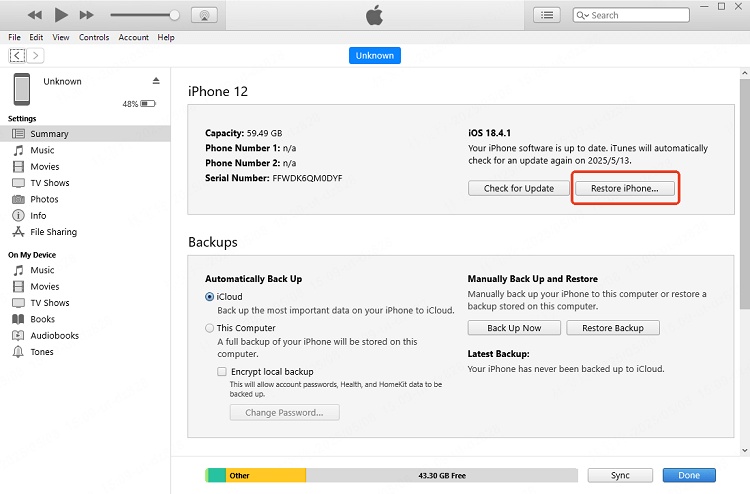
Try the Restore Again
Open iTunes, select your iPhone, and click Restore iPhone. Follow the on-screen instructions carefully.
-
Confirm the Fix
Once the restore finishes, ensure your iPhone restarts normally. Check that errors like iPhone restore error 1109 130a 0000, iPhone error 1109 067d 0000, and iPhone could not be updated error 75 no longer appear.
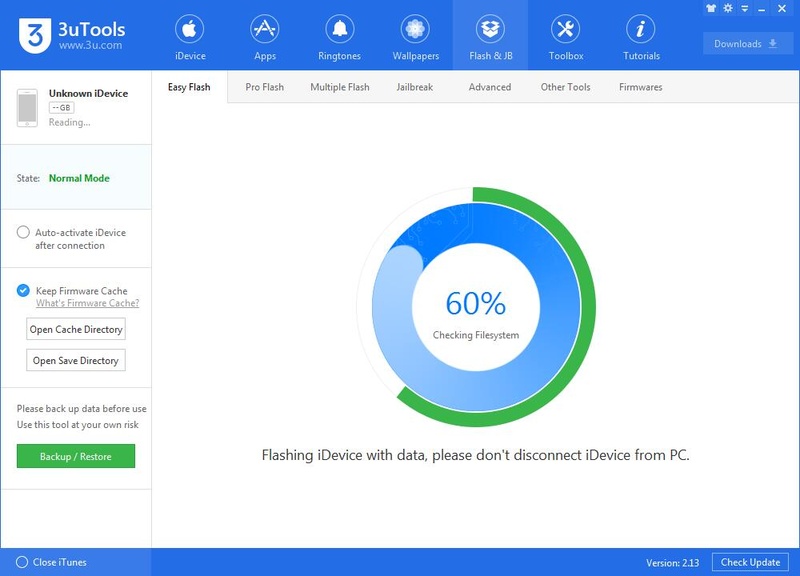
Method 4: Fix iPhone Restore Error 1109 Using 3uTools
3uTools is a powerful and user-friendly iOS management tool. It allows you to flash firmware, update iOS, and repair system errors on iPhones and iPads. Many users turn to 3uTools when standard iTunes restores fail.
This tool can safely fix the iPhone cannot be restored error 1109 by reinstalling or updating the iOS firmware.
Steps to Fix iPhone Restore Error 1109 Using 3uTools
-
Download and Install 3uTools
Go to the official 3uTools website and download the software. Install it on your Windows computer and launch the program.
-
Connect Your iPhone
Use a certified USB cable to connect your iPhone to the computer. Make sure the connection is stable to prevent interruptions during the restore process.
-
Open Flash & JB Section
In 3uTools, navigate to the Flash & JB tab. This section allows you to flash firmware, update iOS, or perform a system repair.
-
Select Firmware Version
Choose the correct firmware for your iPhone model. If you want to keep your personal data, check the Retain User Data option.
-
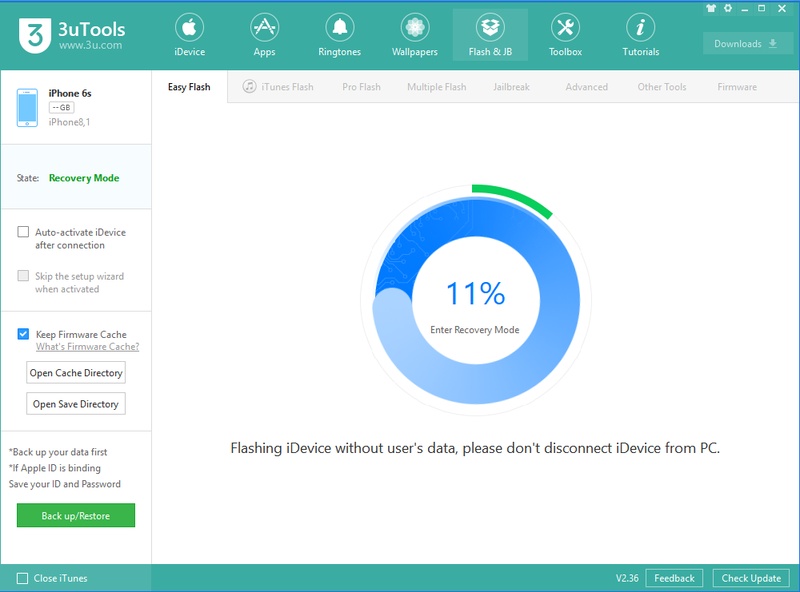
Start the Flash Process
Click Flash to begin reinstalling or updating iOS. Wait patiently while 3uTools downloads and installs the firmware. Do not disconnect your iPhone during this process.
-
Reboot and Verify
Once the flash is complete, your iPhone will reboot automatically. Check that the iPhone restore error are resolved.
Part 4: FAQs About iPhone Restore Error 1109
-
Can I fix iPhone restore error 1109 without losing data?
Yes. Using tools like Tenorshare ReiBoot or 3uTools in "Standard Repair" or "Retain User Data" mode lets you fix the error without erasing your iPhone's data.
-
Is there a quick fix for iPhone restore error 1109?
A quick solution is to try Recovery Mode or update iTunes first. For a faster and safer fix, professional tools like ReiBoot can repair the issue in a few clicks.
-
How is "iPhone could not be updated error 75" different from
1109?
Error 75 usually happens due to network or USB issues during an update, while error 1109 often involves system or firmware conflicts. Both prevent restore or update, but 1109 can also appear during DFU restores.
Conclusion:
iPhone restore error 1109 can be frustrating, but most issues can be fixed with the methods listed above. From DFU mode and Recovery Mode to 3uTools or updating iTunes, solutions are available for every situation. For a quick, safe, and easy fix, Tenorshare ReiBoot is highly recommended. It repairs system errors without data loss and works on all iPhone models.