Updated on 2026-05-21 / iPhone Tips
Not every iOS update feels like an upgrade. Many users search for how to downgrade to Unsigned iOS when their iPhone starts lagging, draining battery, or showing new bugs after an update.
Going back to an older iOS sounds simple, but Apple blocks unsigned versions, so normal restore methods usually don't work. In this guide, we will see real methods step by step in a simple ways.
- Part 1: Is Downgrading to Unsigned iOS Without SHSH Blobs Possible?
- Part 2: How to Downgrade to Unsigned iOS Without SHSH Blobs
- Part 3: How to Downgrade to Unsigned iOS With SHSH Blobs
- Part 4: How to Restore Unsigned IPSW Using iTunes
- Bonus Tip: How to Fix iOS Downgrade Failures with Tenorshare ReiBoot
Part 1: Is Downgrading to Unsigned iOS Without SHSH Blobs Possible?
In most cases, downgrading to unsigned iOS without SHSH blobs is not possible. Apple uses a strict verification system called "signing" that checks every iOS installation before it runs on a device. If Apple is no longer signing that iOS version, the restore will be automatically blocked.
Why SHSH blobs matter
SHSH blobs are small digital certificates saved for a specific iOS version on a specific device. They act like a permission key that allows older iOS versions to be restored later. Without these blobs, Apple's server will not approve the installation of an unsigned IPSW.
Why downgrade fails without blobs
When you try to install an unsigned iOS without SHSH blobs:
-
iTunes or Finder rejects the firmware
-
3uTools restore fails during verification
-
Apple server blocks the request immediately
-
Device cannot bypass the security check
Are there any exceptions?
Only a few very old devices with specific hardware exploits may allow limited downgrade options, but for modern iPhones and iOS versions like iOS 18 or iOS 26, there is no working method without SHSH blobs.
Part 2: How to Downgrade to Unsigned iOS Without SHSH Blobs
Apple normally only allows users to install the latest signed iOS version. Once Apple stops signing an older version, it cannot be restored through iTunes or 3uTools anymore.
In reality, Apple blocks this process through server-side verification. However, advanced tools like FutureRestore are often discussed online for downgrade attempts. It is important to understand that SHSH blobs are usually required for this method to work.
Let's see how to downgrade to unsigned iOS without blobs:
-
Step 1: Confirm your SHSH2 blobs
First, make sure you have already saved SHSH2 blobs for your device. Blobs must match your exact iPhone/iPad model. They must be saved when the iOS version was still signed by Apple. Without correct blobs, the process will not work.
-
Step 2: Set device nonce correctly
Your device must match the SHSH blob data.
-
Use a compatible nonce-setting tool (jailbreak or supported utility)
-
Match the generator value inside your SHSH2 blob
-
Incorrect nonce will cause restore failure
-
-
Step 3: Download required files
Now prepare everything needed for downgrade:
-
FutureRestore tool (latest version)
-
Unsigned IPSW file (target iOS version)
-
Your saved SHSH2 blob file
-
iTunes (Windows only for drivers)
-
-
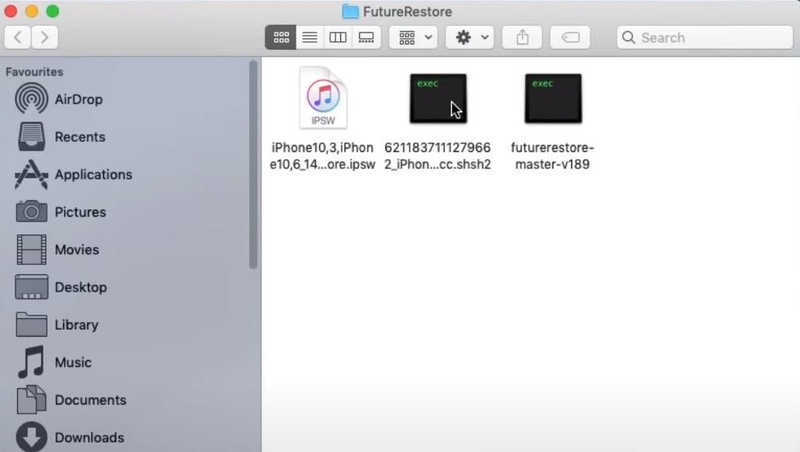
Step 4: Organize files properly
Keep everything in one folder on your computer.
-
FutureRestore executable
-
IPSW firmware file
-
SHSH2 blob file
This helps avoid command errors during execution.
-
-
Step 5: Connect device and open terminal
Connect your iPhone or iPad using a USB cable. Open Terminal (Mac) or command prompt (Windows). Navigate to the folder where files are saved.
-
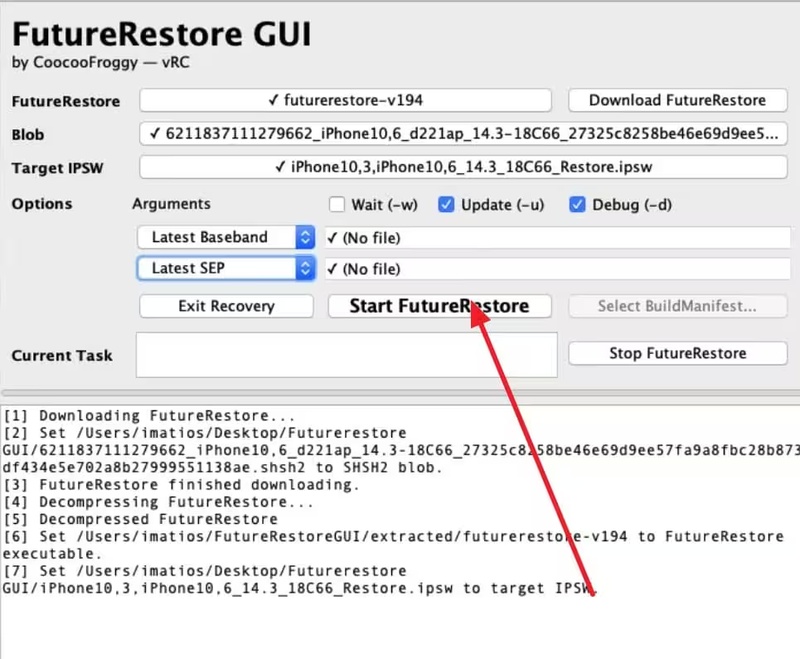
Step 6: Run FutureRestore command
Start the downgrade process using this command:
futurerestore -t yourblob.shsh2 --latest-sep --latest-baseband firmware.ipsw
Replace file names with your actual blob and IPSW files. Press enter to begin the process.
Part 3: How to Downgrade to Unsigned iOS With SHSH Blobs
Downgrading to an unsigned iOS version becomes possible only when you have saved SHSH blobs for that specific firmware. These blobs work like a digital approval that lets your device install older iOS versions even after Apple stops signing them.
One of the most commonly used tools for this process is 3uTools, along with SHSH-based restore methods. When combined correctly, it allows users to flash older IPSW files through a controlled restore process.
Steps on how to install unsigned IPSW with 3uTools:
-
Step 1: Install 3uTools
Download and install the latest version of 3uTools from the official website. New version helps support newer iOS devices.
-
Step 2: Download IPSW file
Download the correct iOS firmware (IPSW) from a trusted site like IPSW.me. Make sure it matches your device model.
-
Step 3: Connect your device
Use a USB cable to connect your iPhone or iPad to the computer. Open 3uTools and wait for it to detect your device.
-
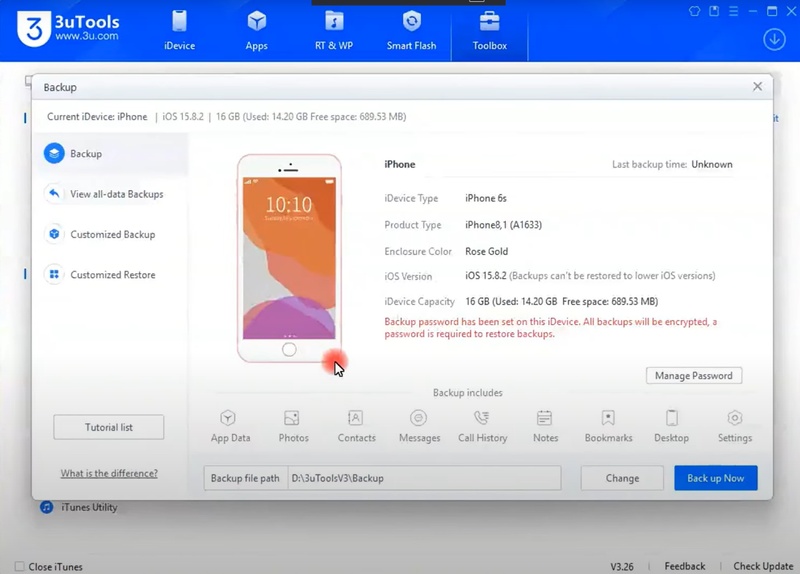
Step 4: Take a backup
Go to Toolbox > Backup & Restore and create a full backup. Downgrading will erase all data.
-
Step 5: Enter DFU mode
Follow instructions in 3uTools to put your device into DFU mode. The screen will go black.
-
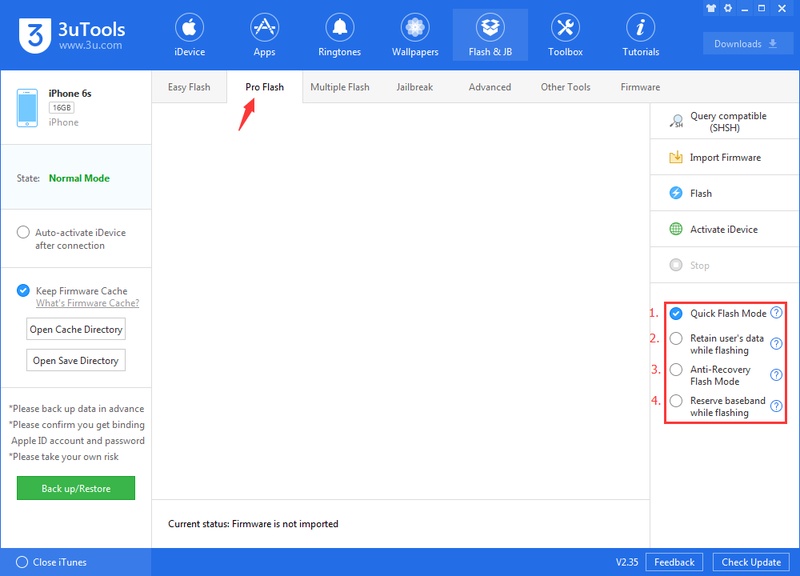
Step 6: Add firmware and SHSH blobs
Go to Flash & JB > Pro Flash. Click Import Firmware and select IPSW file. Add SHSH blobs using Query SHSH or Import SHSH.
-
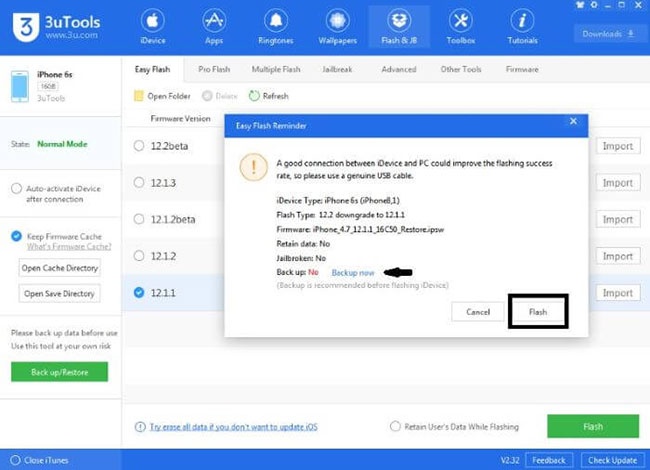
Step 7: Start flashing
Click Flash and confirm the warning. Wait while 3uTools installs the firmware.
-
Step 8: Restore data
After completion, your device will restart. Go to Backup & Restore and recover your data.
Part 4: How to Restore Unsigned IPSW Using iTunes
iTunes is Apple's official tool for restoring iPhone and iPad software. It is often used for updating or reinstalling iOS through IPSW files. However, iTunes only works with signed iOS versions, which means it cannot normally install unsigned IPSW files after Apple stops signing them.
How to Restore IPSW Using iTunes or Finder (Step-by-Step)
-
Step 1: Download the Correct IPSW File
Before starting, you need the firmware file itself. Visit a trusted source like IPSW.me. Select your specific device model (e.g., iPhone 17 Pro Max).
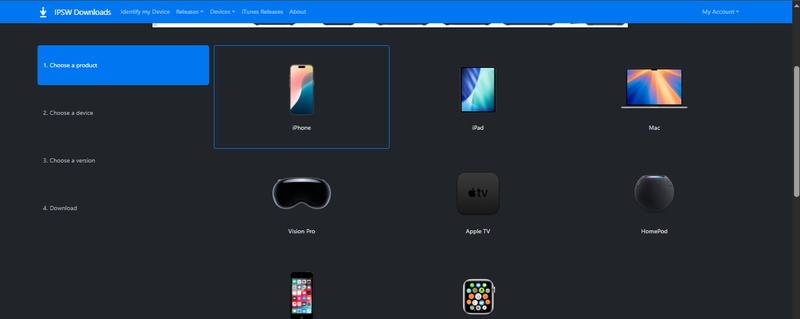
Crucial: Make sure the version is highlighted in green (Signed). iTunes and Finder will reject any "Unsigned" files immediately.
-
Step 2: Turn Off "Find My"
Apple's Activation Lock prevents a restore unless you manually disable it. On your iPhone, go to Settings > \Your Name\ > Find My. Toggle Find My iPhone to Off. Enter your Apple Account password to confirm. Now, connect your device to your computer using a high-quality USB cable.

-
Step 3: Open the Management App
Depending on your computer, you will use different software:
Windows: Use the Apple Devices app (or iTunes if you are on an older Windows version).
Mac (macOS Catalina or newer): Open Finder and select your iPhone from the sidebar.
Mac (Older): Open iTunes.
-
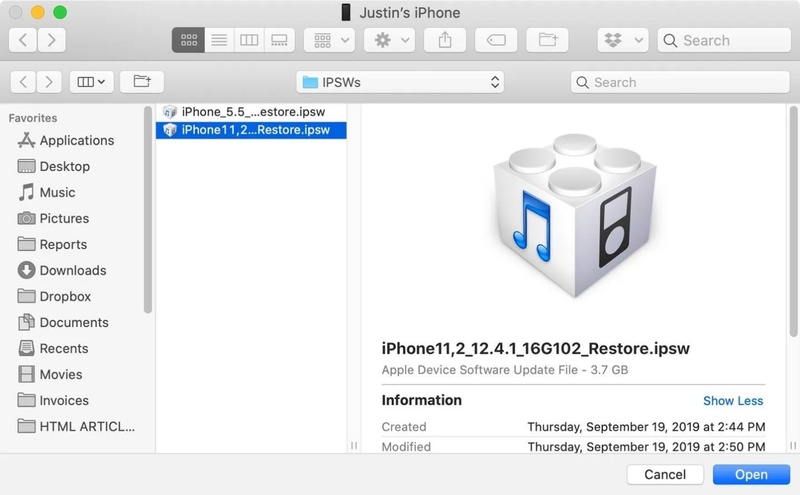
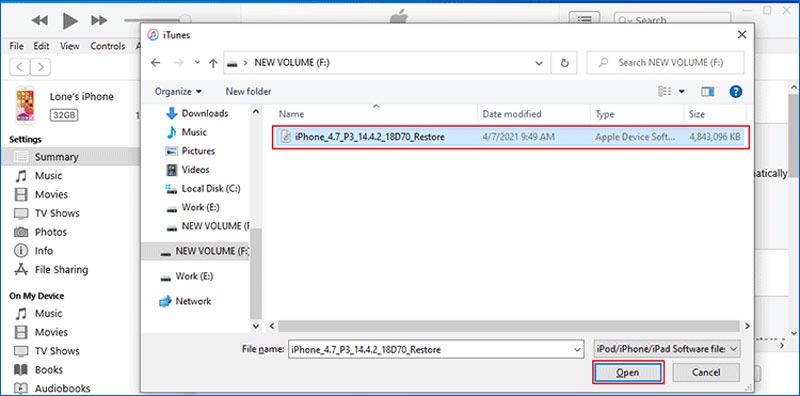
Step 4: Select Your IPSW File
This is the "secret" step to manually choose your file instead of letting the computer download the latest one automatically.
Windows: Hold the Shift key and click Restore iPhone.
Mac: Hold the Option (⌥) key and click Restore iPhone.
A file browser will pop up. Navigate to and select the .ipsw file you downloaded in Step 1.
-
Step 5: Start the Restore Process
A pop-up will ask for confirmation. Click Restore to begin. The Waiting Game: Your computer will extract the software and verify the signature with Apple's servers.
Warning: Your iPhone screen will show an Apple logo and a progress bar. Do not disconnect the cable until the device reboots and shows the "Hello" screen.
Bonus Tip: How to Fix iOS Downgrade Failures with Tenorshare ReiBoot
OS downgrade is not always smooth. Sometimes the device gets stuck on the Apple logo, enters recovery mode. In many cases, the problem is not the IPSW file itself but a deeper system glitch inside iOS.
This is where Tenorshare ReiBoot becomes useful. Instead of forcing repeated restore attempts, ReiBoot focuses on repairing the iOS system from the inside. It helps refresh the system files and fix hidden errors that usually block downgrade or restore processes. What makes it helpful is that it works without complicated commands or technical setup.
Features:
-
Fix iPhone stuck on Apple logo, black screen, or recovery mode
-
Repair iOS system issues caused by failed update or downgrade
-
Enter or exit recovery mode with one click
-
Fix iTunes restore and 3uTools flashing errors
-
Resolve boot loop problems without complex steps
-
Repair system glitches without deleting personal data (Standard Repair mode)
How to Use ReiBoot for Downgrade Issues
-
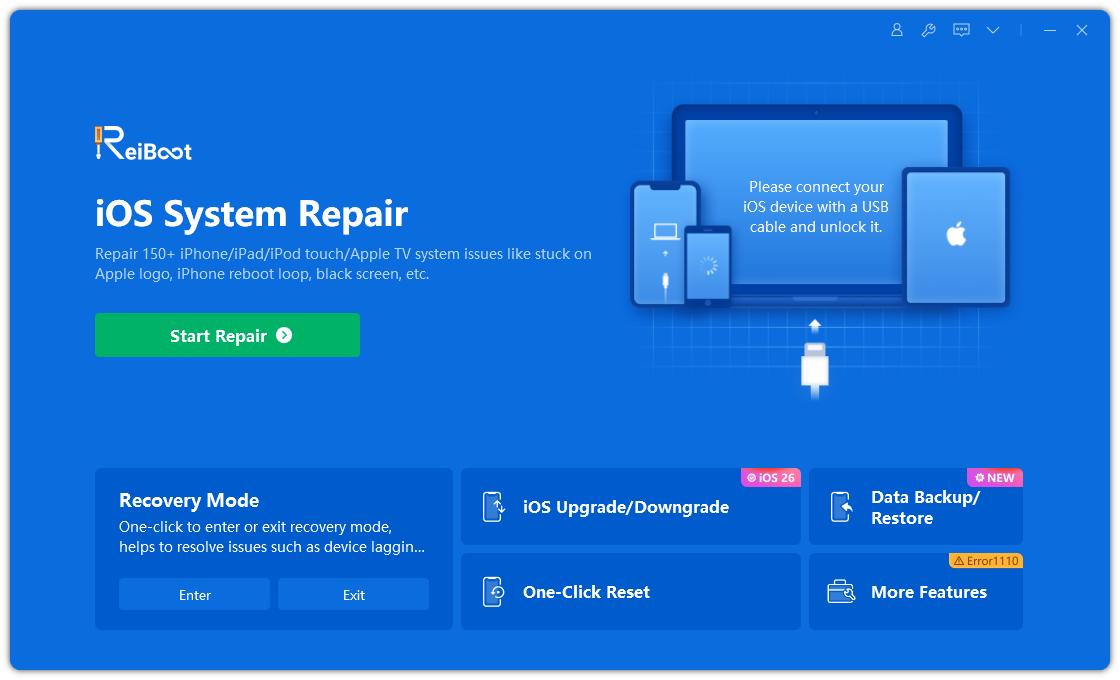
Step 1: Install ReiBoot
Download and install ReiBoot on your computer (Windows or Mac). Open the tool once installation is complete.
-
Step 2: Connect your device
Plug your iPhone or iPad into the computer using a USB cable. Wait until ReiBoot detects it automatically. Click from Main interface ios downgrade/Upgrade.
-
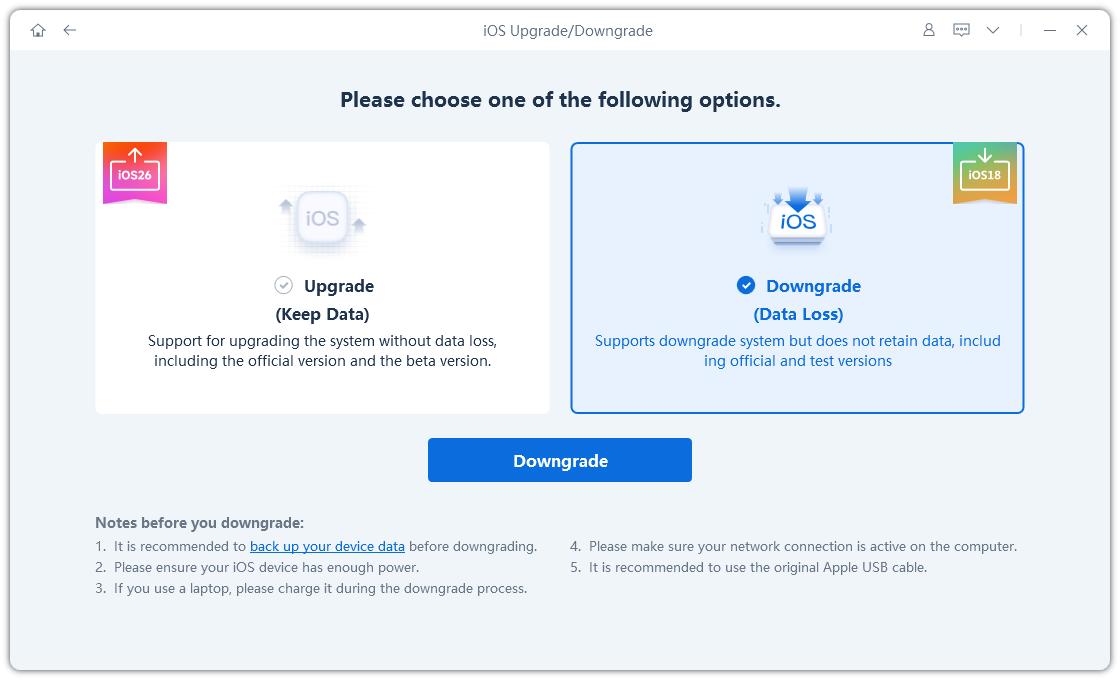
Step 3: Select repair option
Choose Downgrade to downgrade the ios without affecting personal data.
-
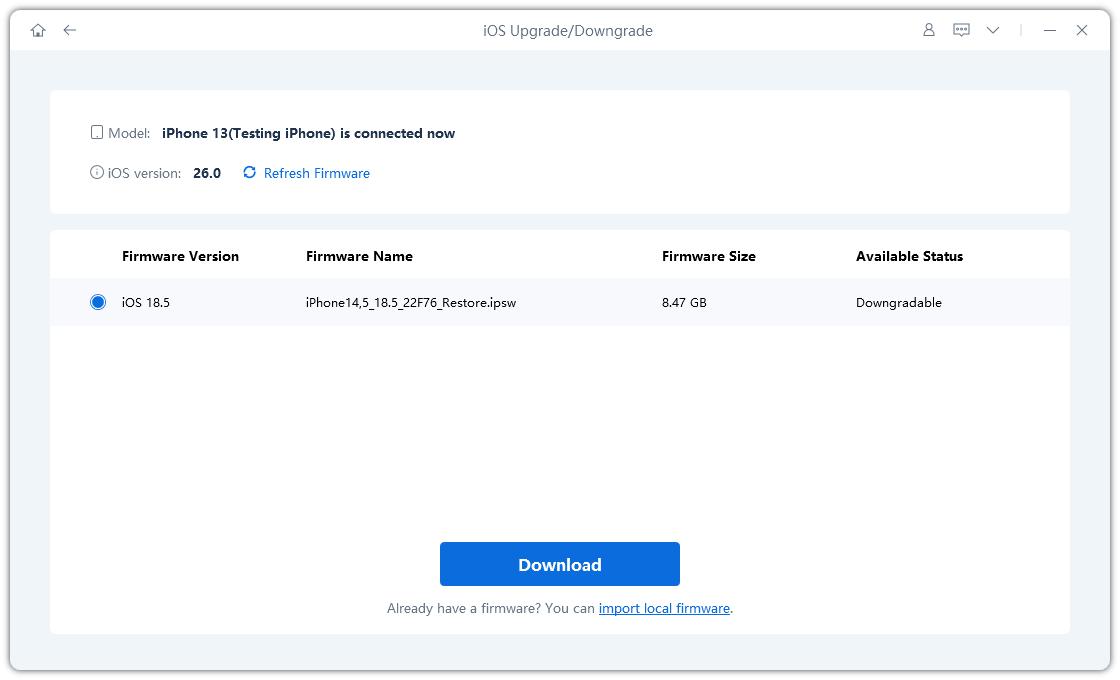
Step 4: Download firmware
ReiBoot will automatically download the correct iOS firmware needed for downgrade.
-
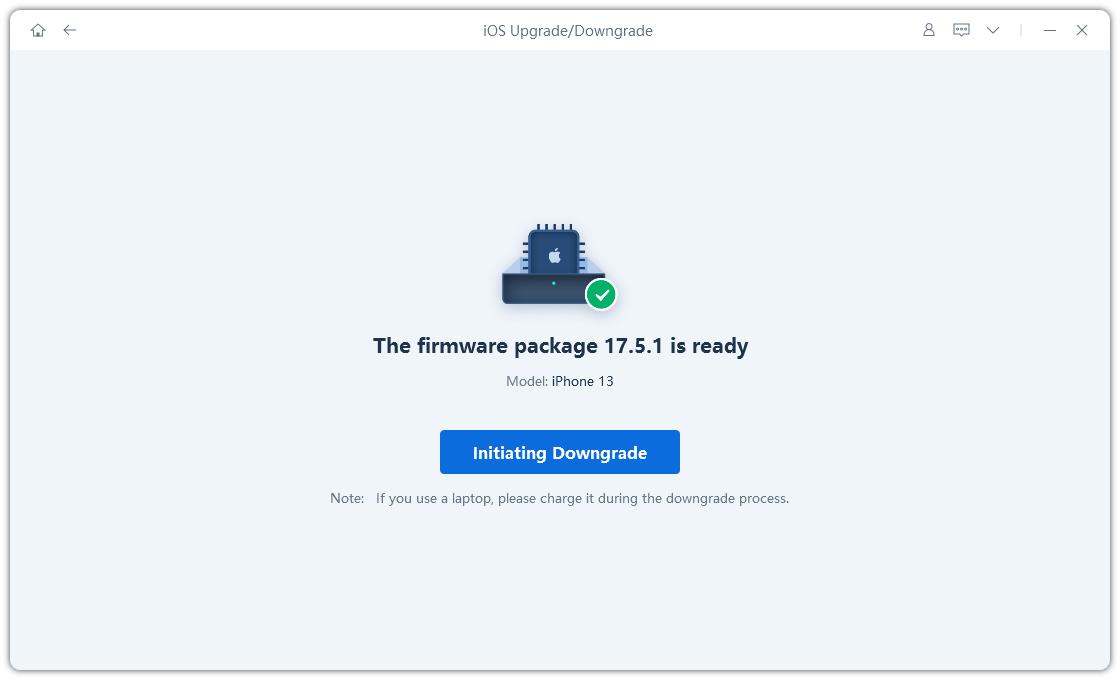
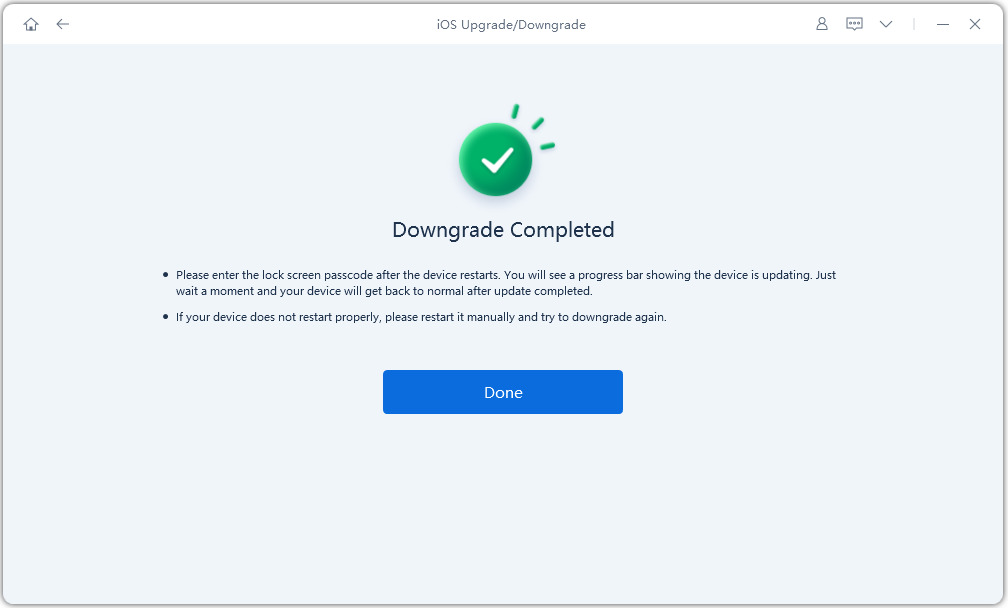
Step 5: Start system repair
Click on the "Initiating Downgrade" and wait while ReiBoot downgrade the iOS system.
Final Words
Downgrading to unsigned iOS is not easy. Apple blocks older iOS versions, so most methods only work in special cases. SHSH blobs, 3uTools, and iTunes can help, but they often fail if requirements are not correct.
Always take a backup before trying any method for how to downgrade to Unsigned iOS. If your device gets stuck or shows errors, Tenorshare ReiBoot can help fix system problems and bring your iPhone back to normal easily.