Updated on 2025-09-26 / iPhone Tips

The iPhone 17 is Apple’s most advanced smartphone yet, offering a smoother display, faster performance, and greater durability. However, many users have reported a problem, the touch screen not working iPhone issue. When the display becomes unresponsive, everyday tasks like making calls, sending messages, or opening apps become nearly impossible. In some cases, the screen freezes right after an iOS update, while in others, ghost touches or hardware faults may be the cause.
If your iPhone unresponsive to touch, don’t worry, you’re not alone. Here are 5 quick and effective methods to fix an unresponsive iPhone screen, explain why these fixes work, and show you the ultimate solution if nothing else helps.
- Part 1: 1. Clean the Screen and Remove Accessories
- Part 2: 2. Force Restart Your iPhone
- Part 3: 3. Disconnect Accessories and Try Charging Differently
- Part 4: 4. Update or Restore iOS via iTunes/Finder
- Part 5: 5. Check for Hardware Issues
- Part 6: Ultimate Fix: Factory Reset iPhone (When All Else Fails)
1. Clean the Screen and Remove Accessories
Whether the screen is unresponsive, lagging, or randomly freezing, the iOS 26 issue could be caused by software glitches, app bugs, or even minor hardware problems. Here are the 6 quick fixes to get your iPhone 17 touch screen working again.
The iPhone 17 is designed with a highly responsive display, but sometimes small obstructions can make it seem like the touch screen on iPhone not working. If this happens, start by checking the screen for dust, fingerprints, or smudges, as these can block touch sensitivity. If the issue continues, try removing any screen protectors or bulky cases, as they can sometimes interfere with touch accuracy.
2. Force Restart Your iPhone
If the iphone touch screen not working after update or freezes randomly, a force restart often fixes temporary software glitches. To force restart your iPhone 17, follow the simple steps mentioned below:
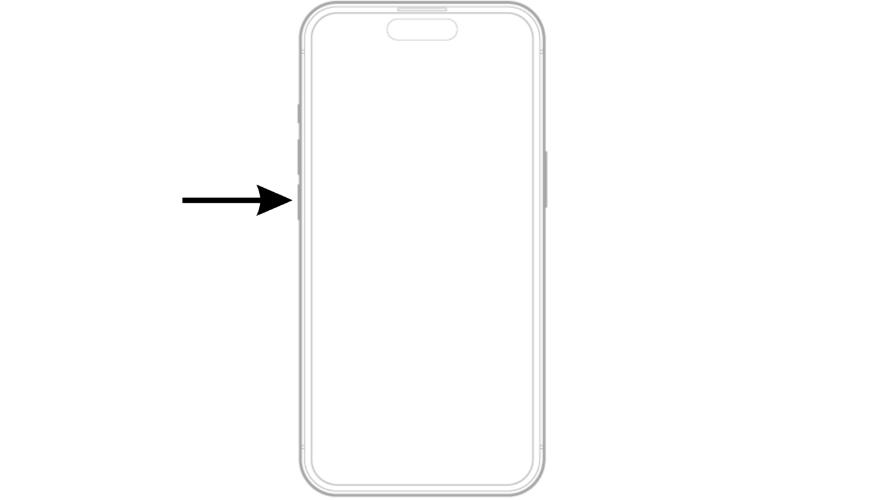
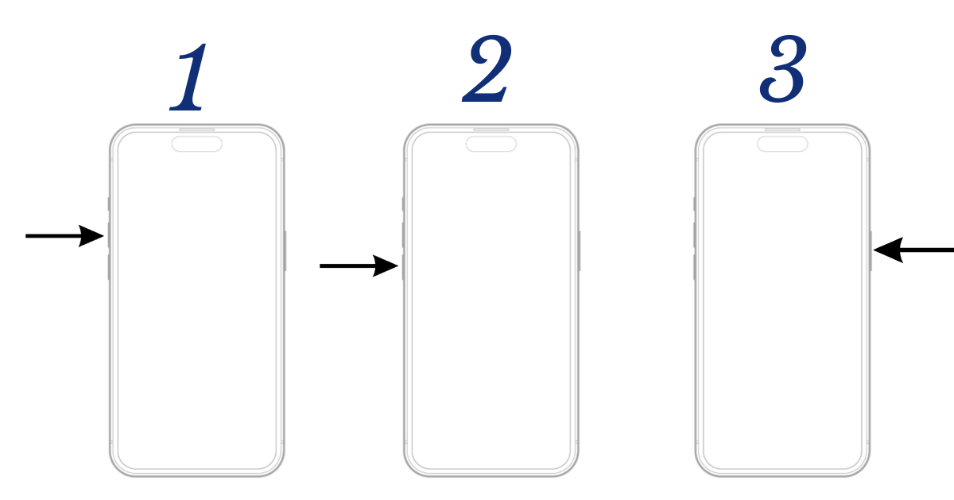
Step 1. Briefly tap the Volume Up button and let go immediately.

Step 2. Then press the Volume Down button and leave right away.
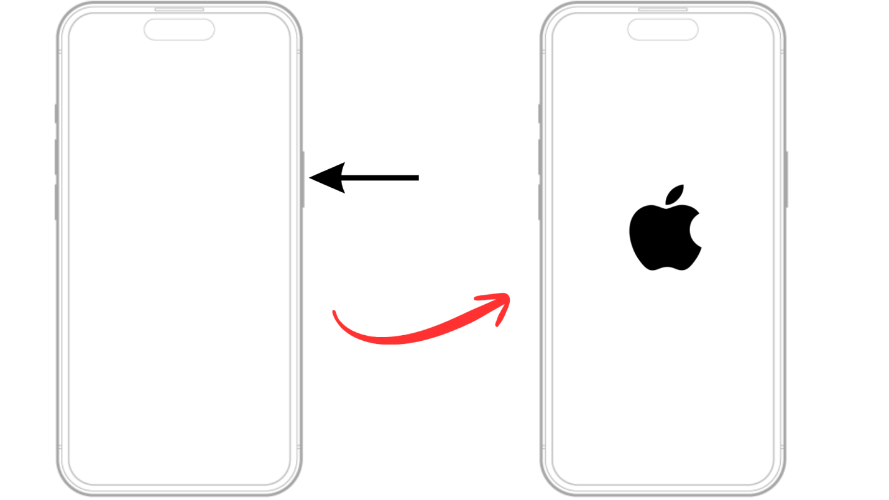
Step 3. Hold down the power on/off button and let go once the Apple logo shows up on the screen.
Pros:
- The method does not harm your device or affect its normal functions.
- All your personal files, apps, and settings remain preserved throughout the process.
- The steps are straightforward and can be followed by any user without technical expertise.
Cons:
- Won’t fix major software corruption or hardware faults.
Why recommended: A force restart clears temporary memory and resets iOS processes without deleting your data.
3. Disconnect Accessories and Try Charging Differently
External accessories or faulty charging equipment can sometimes be the reason for your iPhone 17 touch screen not working. To check if this is the cause, disconnect all accessories such as charging cables, headphones, protector, phone cover, and docks. After everything is unplugged, test the screen again to see if it responds properly. If the issue happens while charging, ensure you are using only Apple-certified cables and adapters, as uncertified or damaged accessories may affect both charging and screen performance.
4. Update or Restore iOS via iTunes/Finder
If your iPhone 17 touch screen not working after an iOS update, the system files may be corrupted. Updating or restoring iOS can resolve this. Here are the steps to update or restore your iPhone 17 via iTunes/Finder:
Step 1: Prepare Your Computer
- On a Mac: Ensure macOS is up to date.
- On a Windows PC: Make sure you have the latest version of the Apple Devices app (or iTunes if the Apple Devices app is unavailable).
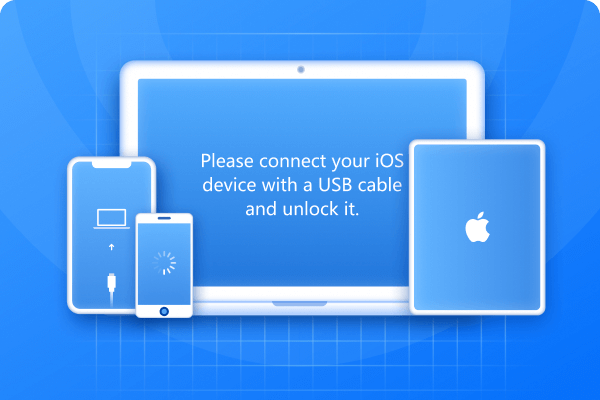
Step 2: Connect Your Device
- Plug your iPhone, iPad, or iPod touch into your computer using a certified USB cable.
Step 3: Open Finder/iTunes
- Mac (macOS Catalina or later): Open Finder.
- Windows PC: Open the Apple Devices app. If unavailable, open iTunes.
- Mac (macOS Mojave or earlier): Use iTunes instead.
Step 4: Put Your Device into Recovery Mode
Keep your device connected and follow the button combination until the Connect to Computer screen appears:
- Press and quickly release the Volume Up button.
- Press and quickly release the Volume Down button.
- Press and hold the power button until the Connect to Computer screen appears.
Step 5: Choose Update or Restore
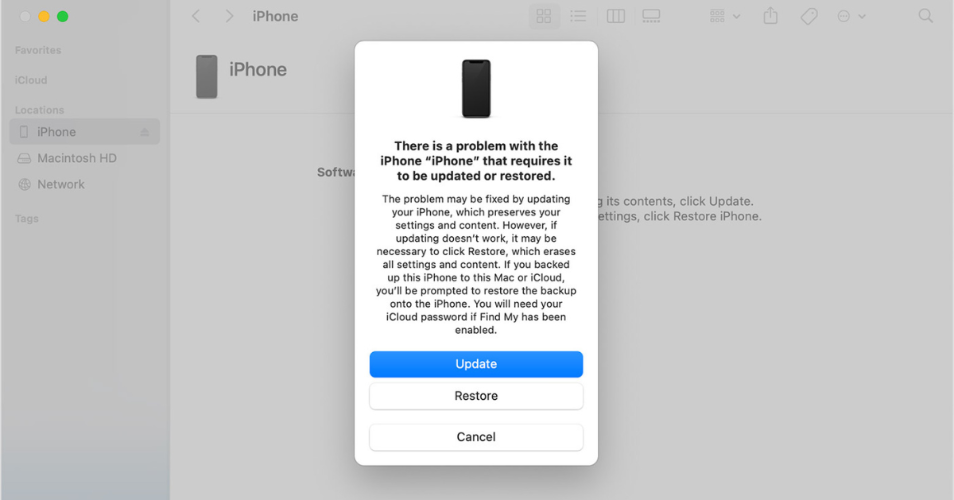
- On your computer, locate your device in Finder or iTunes.
- When prompted, select Update (recommended first). This reinstalls iOS without erasing your data.
- If Update fails, choose Restore. This erases all content and reinstalls the latest iOS.
Step 6: Wait for the Process to Complete
- Your computer will download the necessary software.
- If the download takes longer than 15 minutes and the device exits recovery mode, let the download finish, then repeat Step 4.
- Once complete, set up your device as new or restore it from a backup.
Pros:
- Fixes deep iOS issues such as corruption or failed updates.
- Official and safe Apple-recommended method.
- The “Update” option may resolve problems without erasing your data.
Cons:
- If “Restore” is required, all data on the device is erased.
- The process may take a while, depending on your internet speed and update size.
- Requires access to a computer with iTunes or Finder.
Why Recommended: Using iTunes or Finder is the most reliable method to resolve iOS corruption, failed updates, or software glitches. It ensures your device is running the latest iOS version directly from Apple’s servers, minimizing risks of errors or third-party tool issues.
5. Update or Restore iOS via iTunes/Finder
If cleaning the screen, restarting your iPhone, or updating the software don’t solve the problem, the issue may point to a hardware malfunction. Here are some common signs of hardware-related issues include:
- Cracked or physically damaged screen: Even small cracks can interfere with touch sensitivity.
- Unresponsive touch zones: Certain areas of the display may not register your taps or swipes.
- Ghost touches: The screen behaves as if it’s being touched when you’re not interacting with it.
- Display flickering or color distortion: Visible glitches such as screen flicker, lines, or unusual colors often signal deeper hardware problems.
Pros:
- Helps you distinguish between a software glitch and actual hardware damage.
- Saves you from repeatedly trying software fixes that won’t work.
- Detecting hardware failure sooner allows you to repair it before the issue gets worse.
Cons:
- Hardware issues can’t be solved at home and need expert repair.
Why Recommended: Checking for hardware-related signs ensures you’re not overlooking physical damage that software fixes can’t solve and helps you take the right step such as visiting an Apple Store or authorized repair center. Addressing the problem early increases the chances of a successful and less costly repair.
Ultimate Fix: Factory Reset iPhone (When All Else Fails)
If your iPhone 17 touch screen not working and none of the usual fixes like cleaning the screen, force restarting, or updating iOS have solved the problem, the last resort is performing a factory reset. This step erases your device completely, removing all data, settings, and any software glitches that might be causing the touch issue. The best part is, you don’t need iTunes for this. With Tenorshare ReiBoot, you can reset your iPhone to factory settings safely, even if it’s completely unresponsive or you can’t remember the passcode. ReiBoot is a professional tool designed to fix over 150+ iOS issues, including devices stuck on the Apple logo, black screens, or boot loops without causing data loss. This powerful tool ensures a smooth reset process without complications.
How to Use:
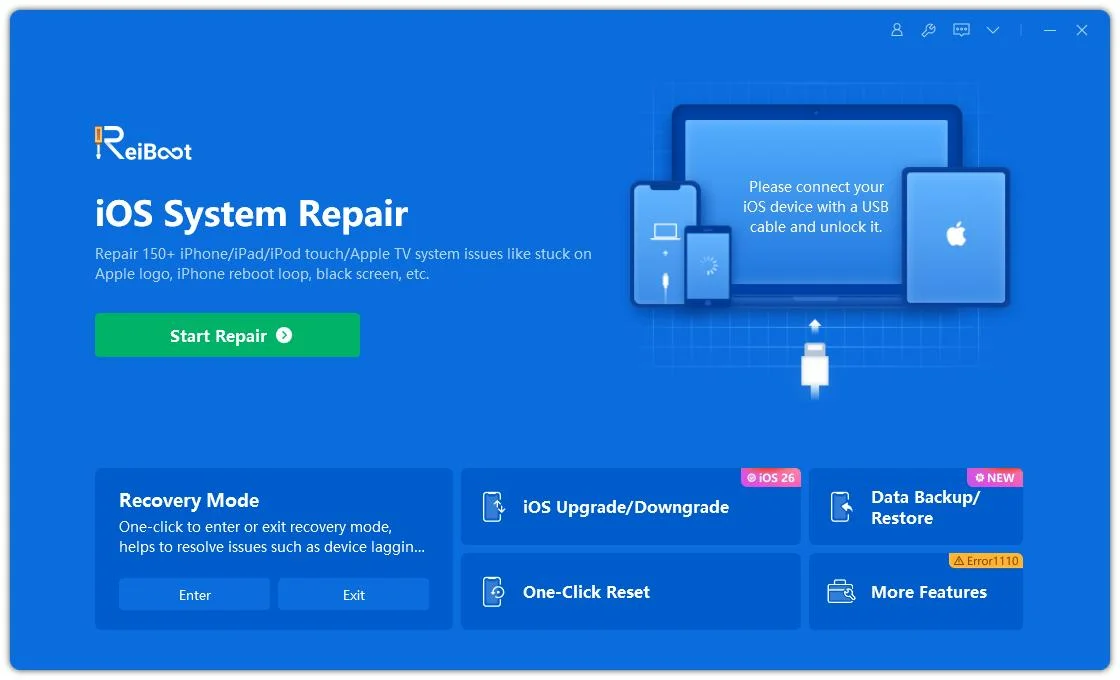
- Start by downloading and installing ReiBoot on your computer. After the installation is complete, open the software, connect your device, and click on “One-Click Reset” to get started.
- After connecting, you’ll see two reset choices. Select Factory Reset to start the process.
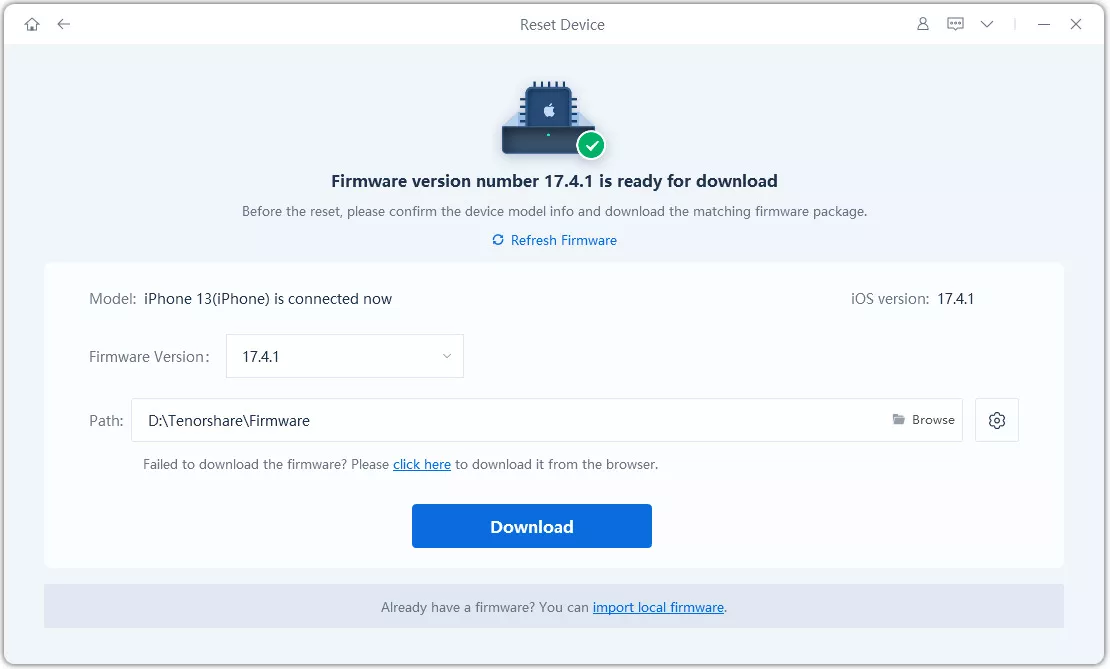
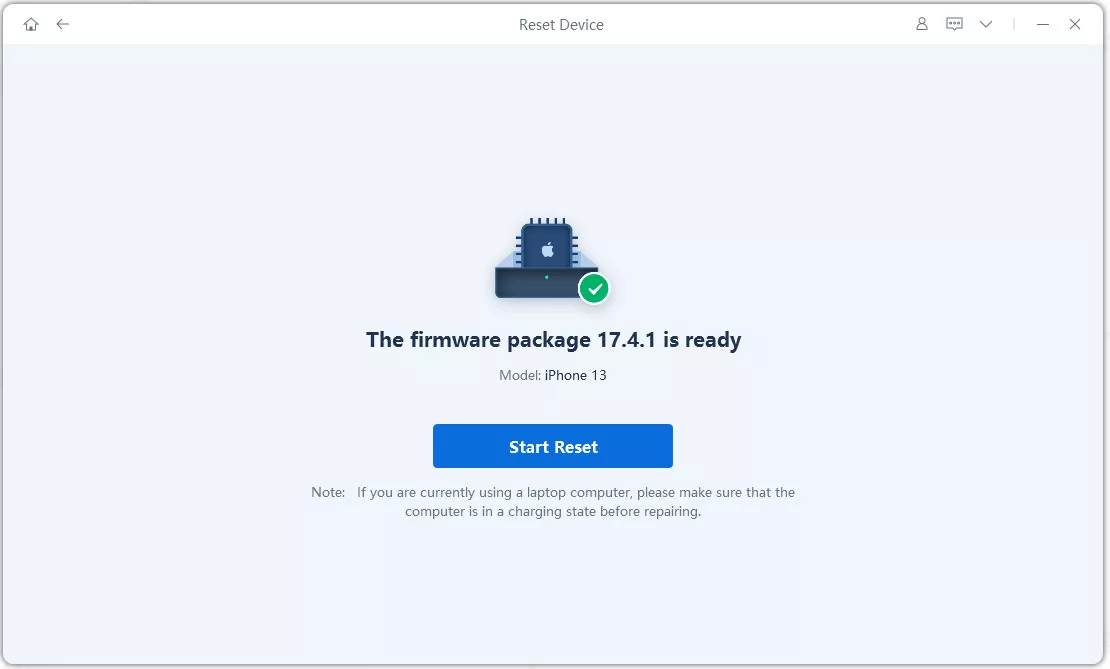
- After Tenorshare ReiBoot detects your device, just select Download to install the latest firmware package.
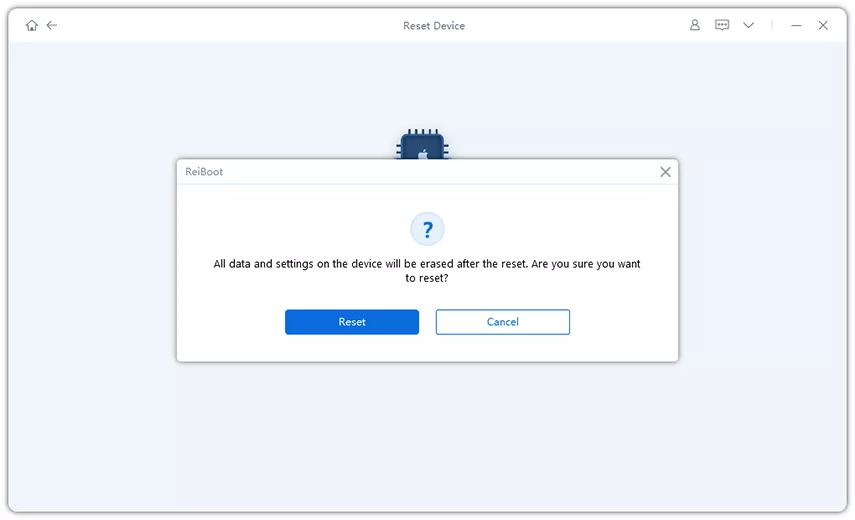
- Once the firmware download is complete on your computer, click “Start Reset” to initiate the reset process.
- The reset can take a while to finish because the firmware file is quite large about 5GB.
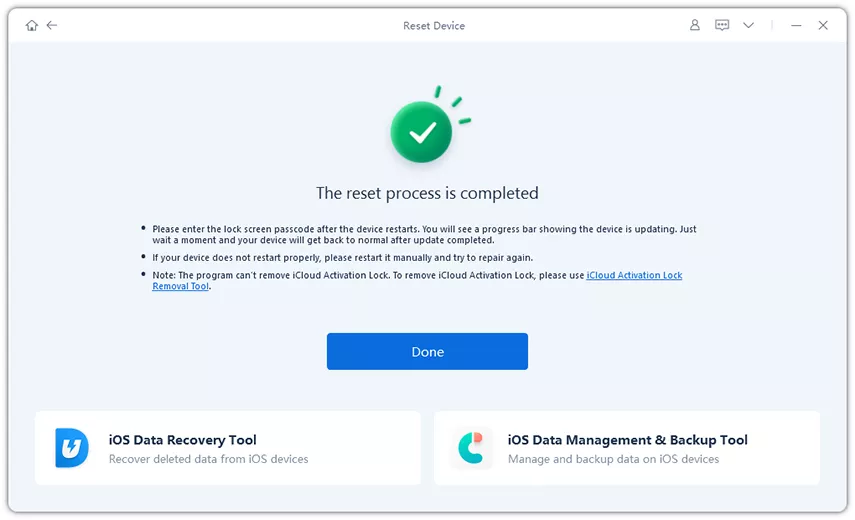
- After roughly 10 minutes, the reset process finishes, and you can begin setting up your iPhone as if it were new.
Tip: To maximize the success of repairing your iOS system, always connect your device to the computer using the original Apple Lightning USB cable.
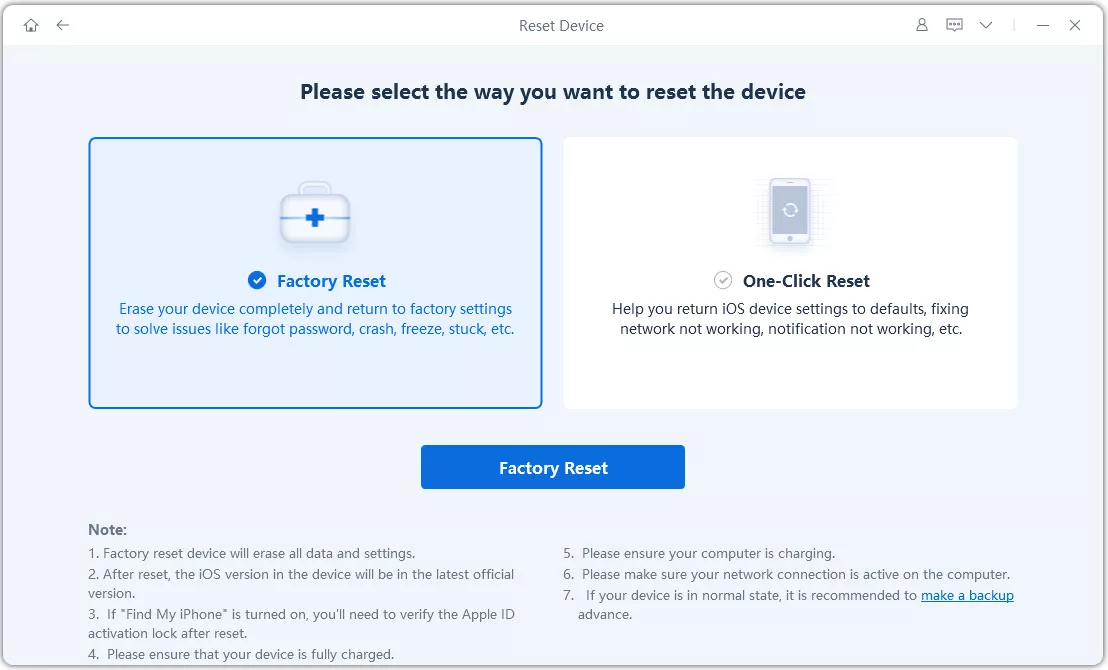
Note: Performing a factory reset will erase all data and settings from your iPhone. If the device is still functional, it’s strongly recommended to back up your files before continuing.

Why Recommended: Performing a factory reset completely erases your iPhone’s software and reinstalls a fresh version of iOS. This process removes any hidden glitches, corrupted system files, or configuration errors that regular updates or simple restarts are unable to repair.
Conclusion:
An iPhone screen unresponsive to touch can be heartbreaking, but most problems can be fixed with simple steps like cleaning the display, force restarting, or updating iOS. If the issue is more serious, restoring the system or checking for hardware damage may be necessary. And when nothing else works, a factory reset with Tenorshare ReiBoot provides the ultimate solution quick, safe, and effective. With these fixes, you can restore your iPhone 17 to smooth performance in no time.