Updated on 2026-02-10 / iPhone 17
When your iPhone 17, 17 Pro, or the new iPhone Air faces serious software problems that regular restarts or Recovery Mode can’t fix, DFU Mode may be your solution. DFU, or Device Firmware Update, lets you completely reinstall iOS and firmware, tackling even the most stubborn issues. In this guide, we’ll show you how to safely enter and exit iPhone 17DFU Mode, and what to do if your iPhone gets stuck along the way.

- Part 1: What is DFU Mode on iPhone 17?
- Part 2: How to Put iPhone 17 in DFU Mode (Step-by-Step)
- Part 3: How to Get iPhone 17 Out of DFU Mode
- Part 4: iPhone 17 Stuck in DFU Mode? Here’s How to Fix It
- Part 5: Conclusion
What is DFU Mode on iPhone 17?
DFU Mode stands for Device Firmware Update. It is a special state that your iPhone can enter, and it does not even load the operating system. Rather, it links directly to iTunes or Finder on the computer to reformat the entire system. That is why it is referred to as the most powerful reset option by many people.
What are the DFU Mode and Recovery Mode of the iPhone 17? The only difference is that Recovery Mode simply reloads iOS, whereas DFU Mode is more comprehensive, allowing for modification or restoration of both the firmware and iOS. This makes iPhone 17 DFU mode even more advanced, though it can be more dangerous when used improperly.
You might need to put your iPhone 17 into DFU mode in certain situations:
- When your iPhone is really stuck on the Apple logo and won’t start.
- If an iOS update or restore fails repeatedly.
- When you want to completely reinstall iOS and firmware to fix system crashes.
- As a last resort, if Recovery Mode doesn’t work.
DFU Mode, in other words, resembles the emergency room of your iPhone, in that it can solve difficult problems, but must be used with caution.
How to Put iPhone 17 in DFU Mode (Step-by-Step)
To enter DFU mode on your iPhone 17, you can do it with iTunes, the easy and safe way, or the manual way with button combinations. Let's look at both.
Method 1: Put iPhone 17 in DFU Mode without Losing Data
Step 1: Prepare Your Tools
- Make sure you have a computer with iTunes (Windows/macOS Mojave or earlier) or Finder (macOS Catalina or later) installed.
- Use the original Lightning/USB-C cable for a stable connection.
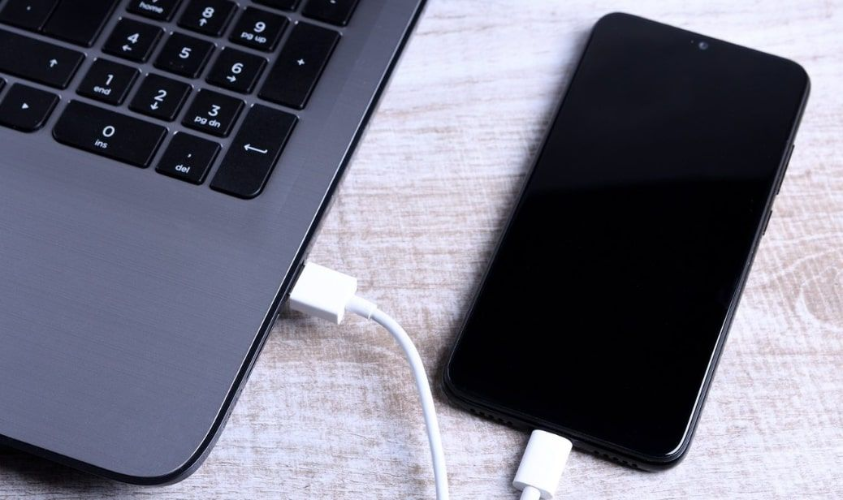
Step 2: Connect iPhone to Computer
- Plug your iPhone 17 into your computer using the cable.
- Open iTunes (or Finder).
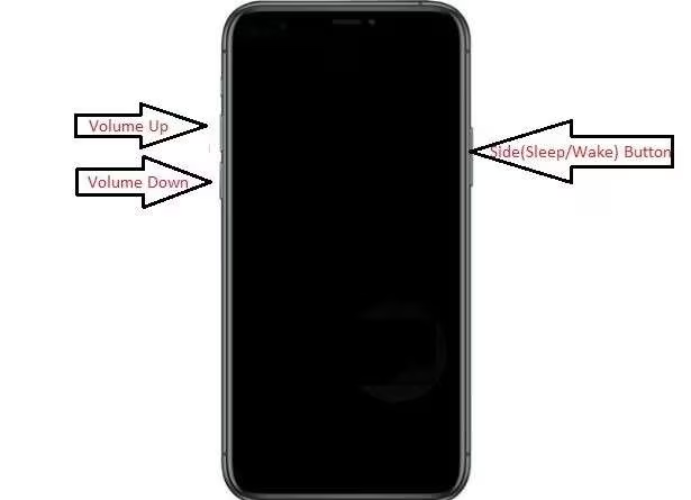
Step 3: Enter DFU Mode (Button Sequence for iPhone 17)
- The goal is to enter DFU mode without triggering a factory reset. Follow the timing carefully.
- Quickly press and release the Volume Up button.
- Quickly press and release the Volume Down button.
- Press and hold the Side (Power) button until the screen goes black.
- While holding the Side button, press and hold the Volume Down button for about 5 seconds.
- Release the Side button but keep holding Volume Down for another 5–10 seconds.
- If done correctly, the iPhone screen will stay black, and iTunes/Finder will detect it as “iPhone in recovery mode” (actually DFU mode).
- Do NOT click “Restore” yet—this is what erases data.
Method 2: Manual Button Combination
You can also trigger DFU mode using button presses (no software required). This is effective, though tricky, and has to be timed.
Steps:
- Plug your iPhone 17 into a computer using a USB cable.
- Press and release Volume Up.
- Press and release Volume Down.
- Hold the Side button until the screen blackens.
- While still holding the Side button, press and hold Volume Down for 5 seconds.
- Release the Side button, but keep holding Volume Down for another 5 seconds.
- The screen will remain black, and then Finder or iTunes will recognize the iPhone in DFU mode.
Why Use This Method
It is the official Apple method to get into DFU mode without any tools, so it should work any time you access a computer.
Pros
- Free, no software needed.
- Official Apple method.
Cons
- Timing is difficult.
- Hard to follow for beginners.
- Does not safeguard information during a full restore.
Hint: The manual procedure may be complex, and it is always safer to use ReiBoot for DFU mode.
How to Get iPhone 17 Out of DFU Mode
Method 1: Manual Exit (Force Restart)
DFU can also be exited by force restarting your iPhone. Manual Exit is the safest and easiest way to get iPhone 17 into DFU mode. Put your phone in the DFU mode, and bring it back later without any chance of losing data.
Steps:
- Press and release Volume Up.
- Press and release Volume Down.
- Hold the Side button carefully until the Apple logo appears.
- Your iPhone will reboot to normal iOS.
Pros
- Free, no tools needed.
Cons
- It may not work when the phone is frozen.
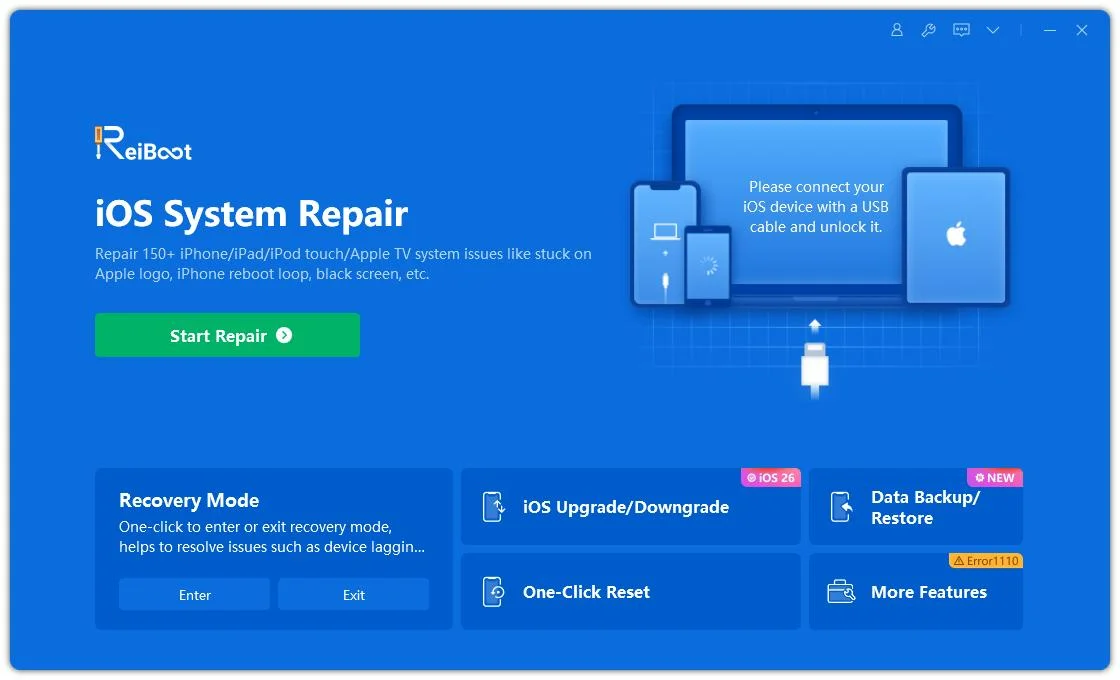
Method 2: Exit DFU Mode with ReiBoot (Recommended)
After your repair/ restore has been completed, you will then have to leave DFU mode. This can be either done manually or with ReiBoot. It is the easiest tool to exit the iPhone 17 out of the DFU mode.
Steps:
- Open ReiBoot on your computer.
- Connect your iPhone 17 with a USB cable.
- Click ExitRecovery Mode.
- Your iPhone will reboot normally in a few seconds.
Pros
- One-click solution.
- Works even when your phone is stuck.
- No risk of errors.
Cons
- Requires software.
How to Get iPhone 17 Out of DFU Mode
Instead of a solution, sometimes DFU Mode causes another problem — your iPhone 17 appears stuck in DFU mode and won’t boot normally. This usually happens due to glitches, failed restores, or incomplete firmware installation.
Why It Happens
- Software crash during restore or update.
- Corrupt firmware file installed.
- Interrupted process (unplugging the device too early or unstable connection).
How to Fix It (Recommended: ReiBoot)
The best way to fix an iPhone stuck in DFU mode is to use Tenorshare ReiBoot → Repair Operating System official guide.
Steps:
- Open ReiBoot and connect your iPhone 17.
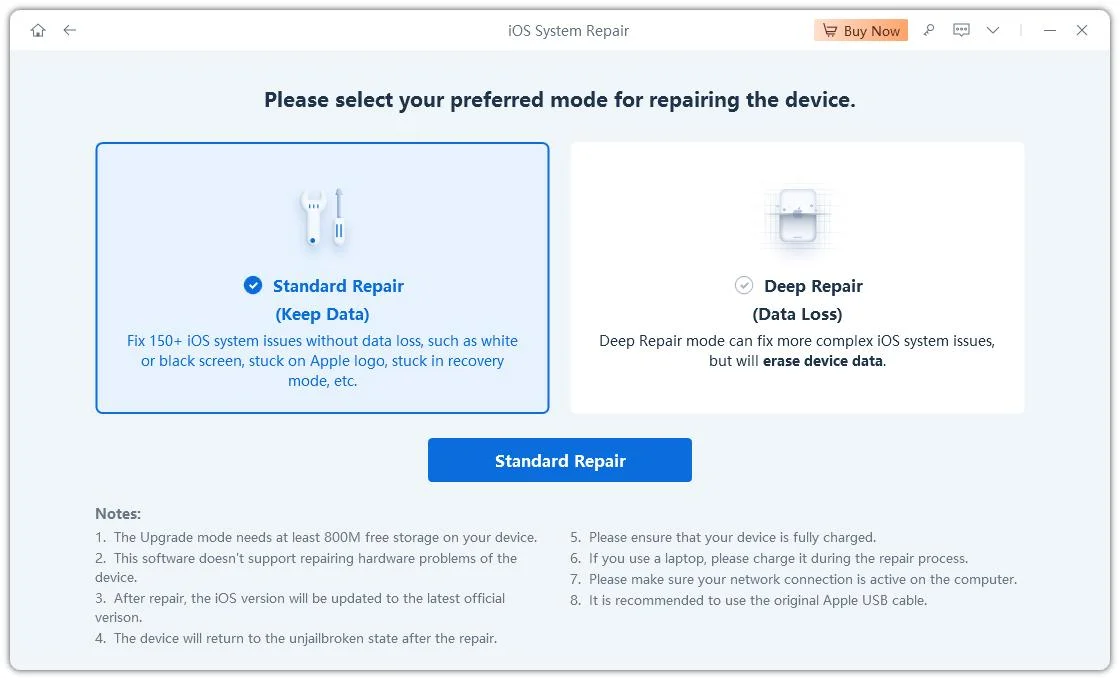
- Select Repair Operating System.
- Choose Standard Repair to fix the device without data loss.
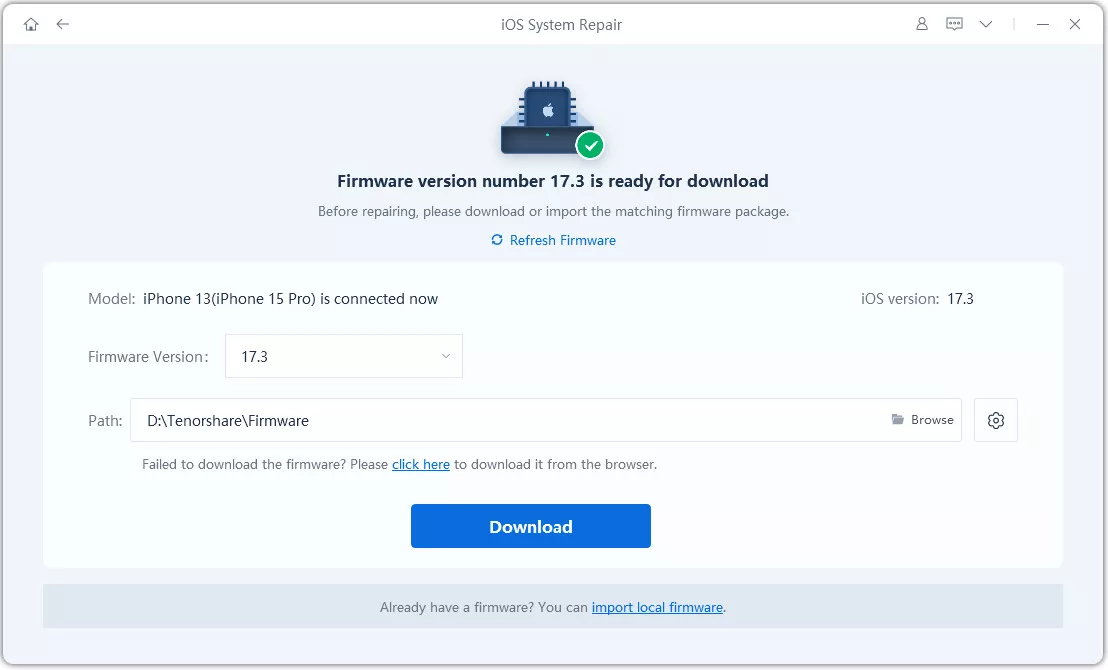
- Download the firmware package when prompted.
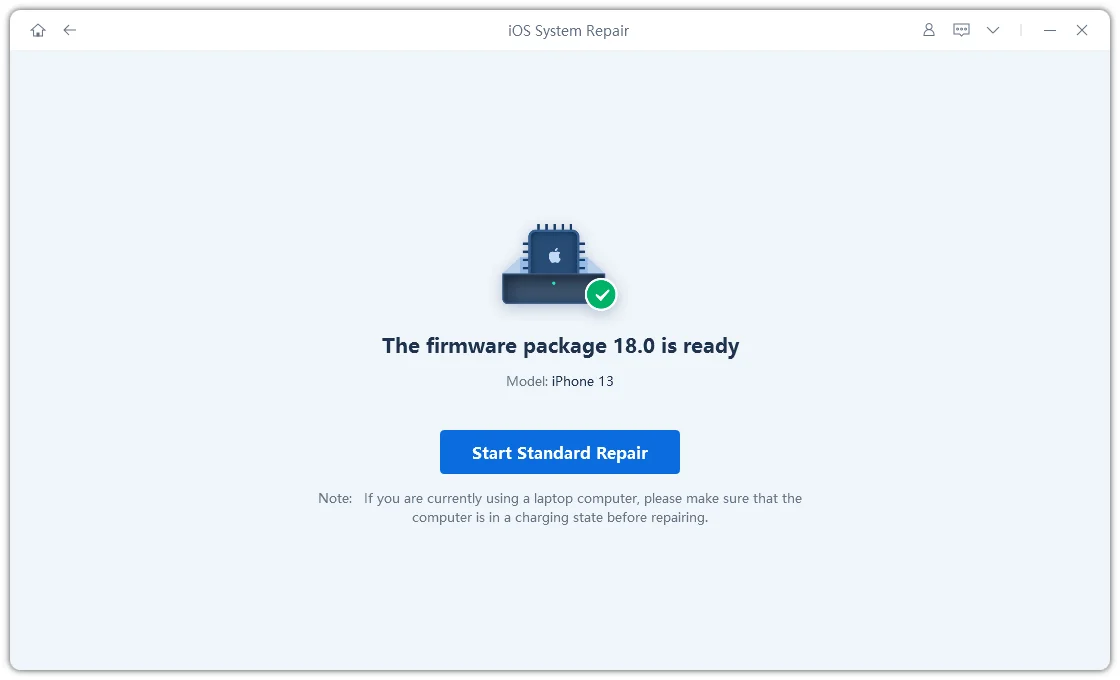
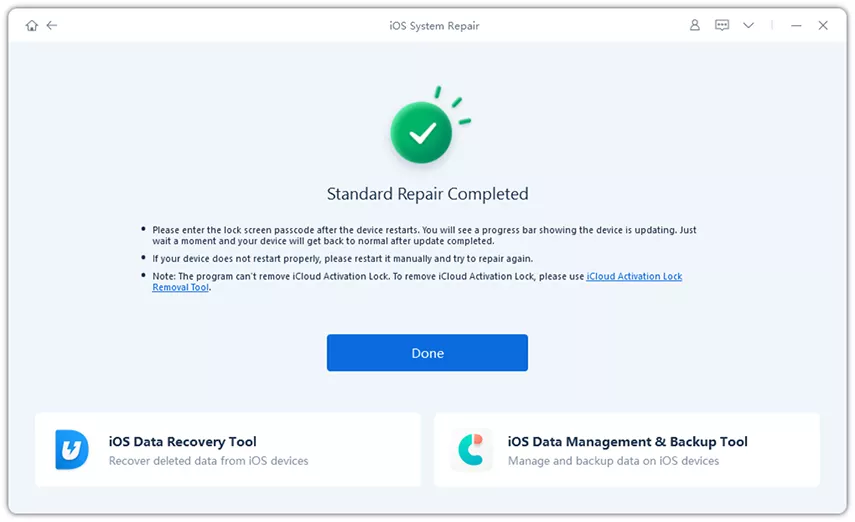
- Click Start Repair and wait until your iPhone reboots normally.
Why Recommended
ReiBoot can fix glitches and reinstall iOS safely. It prevents mistakes and takes only minutes.
Pros
- Fixes iPhone 17 stuck in DFU mode quickly.
- No data loss with Standard Repair.
- Beginner-friendly — just follow the on-screen steps.
Cons
- Requires download and internet connection.
Conclusion
DFU Mode is a powerful tool on the iPhone 17. It is more in-depth than Recovery Mode and can address even the most severe issues, such as updates not functioning properly, system errors, and when the phone simply refuses to boot. The ability to enter and exit iPhone 17 in DFU mode can help you escape stressful situations.
But if you’re not comfortable with tricky button combinations — or if your iPhone 17 stuck in DFU mode — the easiest solution is Tenorshare ReiBoot. It allows you to safely enter or exit DFU Mode with a single click, fix iOS issues, and restore your device to normal without risking your data.
Then, in the future, when your iPhone requires a more serious repair, you will be familiar with DFU Mode, know when to apply it, and understand how ReiBoot can simplify the entire procedure into an easy and stress-free task.